Installing Oracle GoldenGate Microservices – Part 2 of 2
In the my last post, I showed you how to install the binaries for Oracle GoldenGate Microservices. Then at the end of the post, I mentioned that you will need to run Oracle GoldenGate Configuration Assistant to finish the configuration of Oracle GoldenGate Microservices. Let’s take a look at how to do this.
After installing Oracle GoldenGate Microservices binaries, you will notice that there is a new directory structure. This directory structure includes a bin directory. In order to run Oracle GoldenGate Configuration Assistant (OGGCA), you will need to be in the bin directory.
$ cd $OGG_HOME/bin
Once you are in the bin directory, you will notice a lot of executables. These are all the executables that can be ran for various reason with Oracle GoldenGate Microservices. Once you have configured an environment, there are a few things that will be running. These are:
ServiceManager – details here
Administration Service – details here
Distribution Service – details here
Receiver Service – details here
Performance Metric Service – details here
The above links will provide you some details on what these processes do and how to interact with them after the configuration is done.
While you are in the $OGG_HOME/bin directory, you will need to run the oggca.sh script. This script will actually start the Oracle GoldenGate Configuration Assistant.
$ $OGG_HOME/bin/oggca.sh
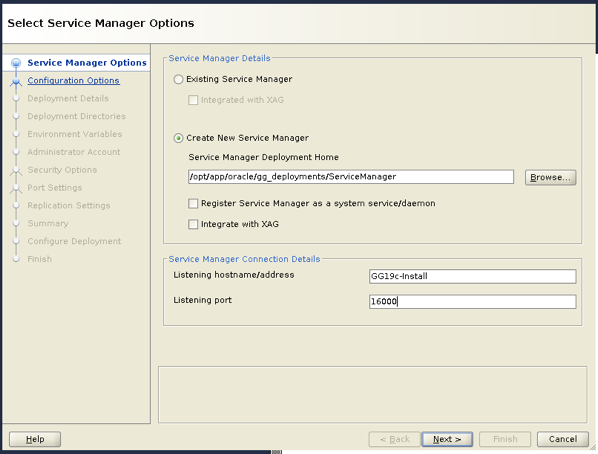
Upon starting the Oracle GoldenGate Configuration Assistant, you will be taken to the Select Service Manager Options page. On this page, you will configure the ServiceManager that will run on the host machine and monitor the associated deployment. You will provide the home directory for the ServiceManager. This is what we call the $DEPLOYMENT_HOME for ServiceManager. Additionally, you will provide the hostname and port number for the ServiceManager to use.
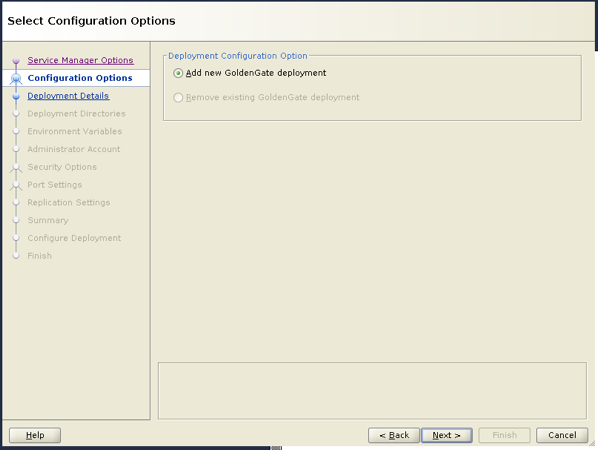
The next screen is the Configuration Options, since this is a new setup, select Add new GoldenGate deployment.
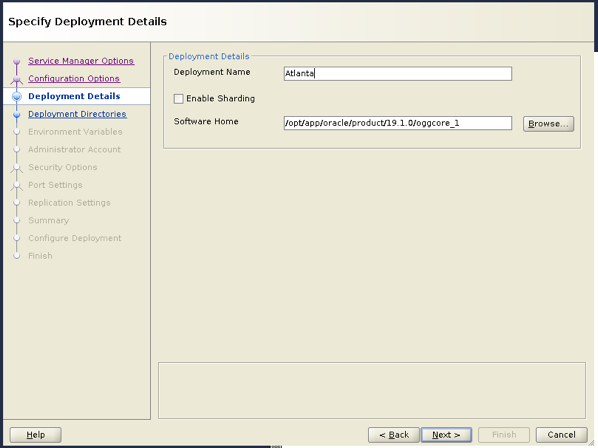
On the Specify Deployment Details page, provide the name for the deployment. The software home should be defaulted to the $OGG_HOME.
The Deployment Directories page is where you will specify the location for the $DEPLOYMENT_HOME for the deployment. This should be the same location but different from the ServiceManager.
Note: $DEPLOYMENT_HOME is the base directory for deployments
Example: $DEPLOYMENT_HOME = /opt/app/oracle/gg_deployments/<deployment_name>
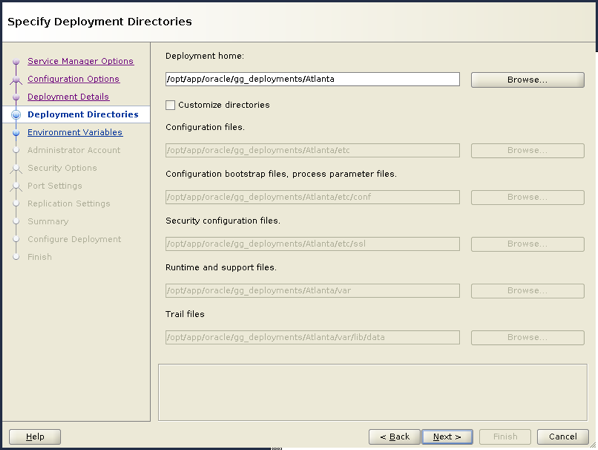
On this page, you can also customize the directories if you like. These directory structures correspond to OGG_ETC_HOME and OGG_VAR_HOME. Take some time and look around and see what options you have to move your directory structures if needed. Keep in mind though, this has to be modified at this stage. It is much harder to change the structure after the deployment is built.
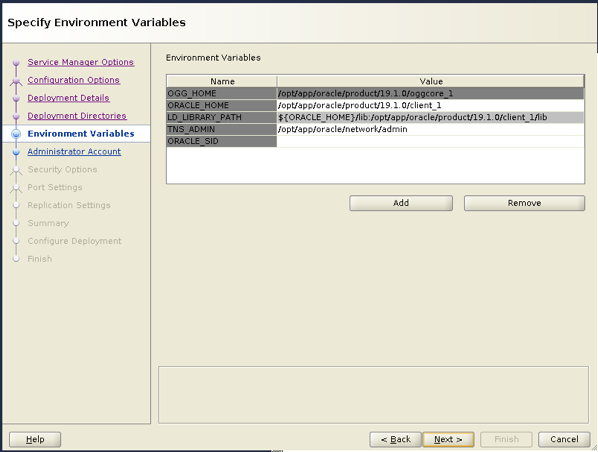
Next, the Environment Variables page displays the environment variables that will be used when building the deployment. These are taken from the OS level. You can add and/or remove environment variables as needed at this point.
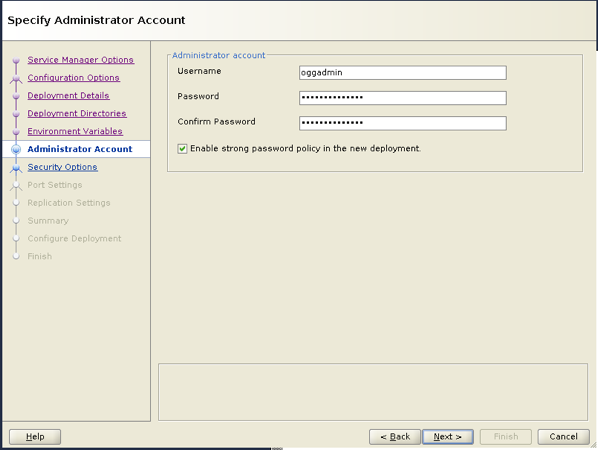
The Administrator Account page is where you will setup the first of the user accounts that are needed to work with Oracle GoldenGate Microservices. This user is the default Security role user that is used to sign-in to the Microservices Architecture. There is no hard and fast rule on naming this user; however, Oracle typically uses a user name like oggadmin. The password has to conform to a complex password pattern.
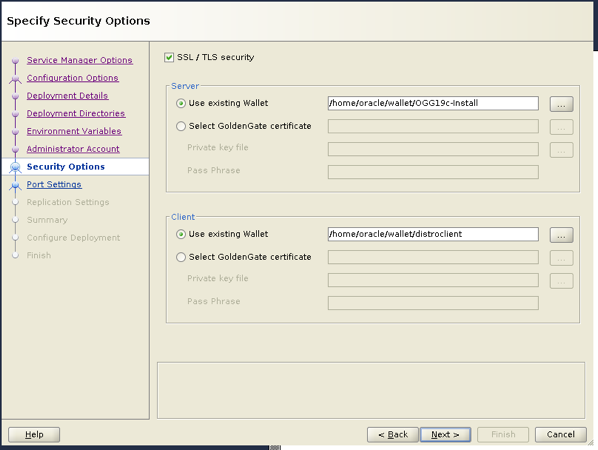
Security Options page is where you can specify if the ServerManager and associated deployments are going to be secure or insecure. As a best practice, everything should be secure. For testing purposes, you can build a series of self-signed certs that you can use here. You can use a quick python script I wrote to do that (here). Provide the location for the Server wallet and the Client wallet.
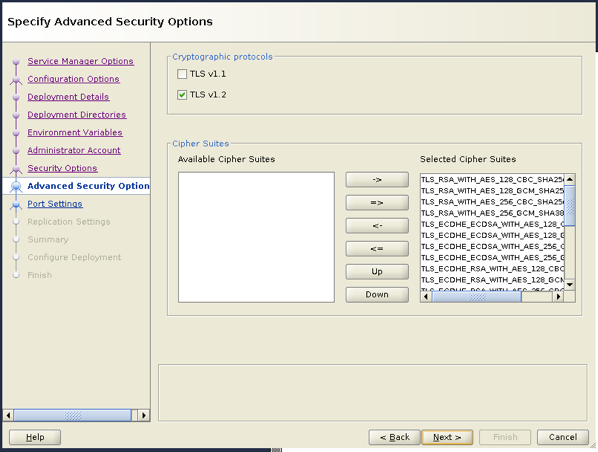
Part of the security setup, you can pick the ciphers that you want to use on the Advanced Security Options page. By default, Oracle GoldenGate provides you with TLS v1.1 and v1.2 (default). All the ciphers are selected as well.
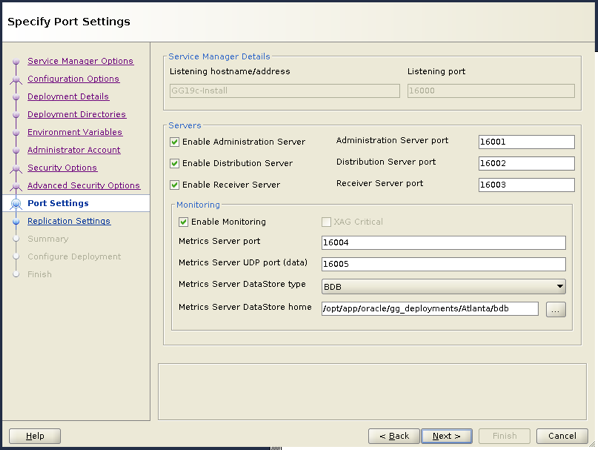
The next page is where the fun starts. The Port Settings page is where you allocate port numbers for the services that I mentioned at the beginning of the post. By default, the Administration Server, Distrbution Server and Receiver Server are all selected. These are the minimal you need to provide ports for. If this is the first deployment after building a ServiceManager, it is best to keep the port numbers in numerical order. In this example the ServiceManager is running on 16000; meaning that I should number the corresponding services with 16001, 16002, 16003, etc…
You will also notice that the Monitoring section is populated as well. In this section, you only need to check the Enable Monitoring box and provide a location for the DataStore NoSQL database location. Typically, the datastore database should reside within the $DEPLOYMENT_HOME where it will be used.
Example: $DEPLOYMENT_HOME/<deployment_name>/bdb
Note: By checking the Enable Monitoring check box, you are consenting to have a license of the OGG Management Pack Plug-in.
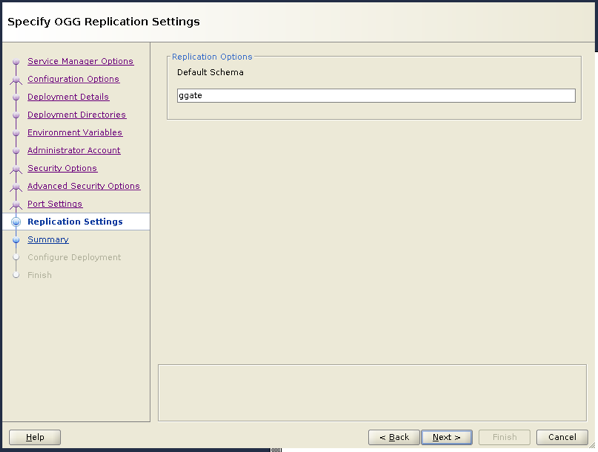
Next, you will provide the default schema for replication objects on the Replication Settings page. This schema is where you will store items like automatic heartbeat and checkpoint tables when configuring the replication flows. I typically just set this to “ggate”.
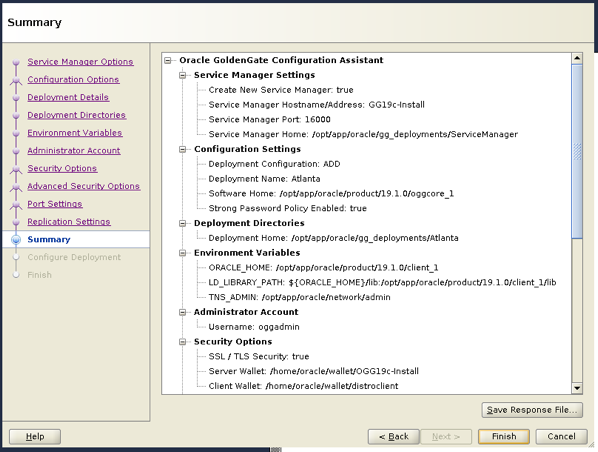
Finally, you make it to the Summary page. On this page, review all the settings and confirm that this is how you want the ServiceManager and associated deployment created. At this same time, you have the option to save a response file for silent installed. It is encouraged that you save a response file. By clicking Finish, the OGGCA will build the ServiceManager and the first deployment associated with it.
At this point, the deployments will be created.
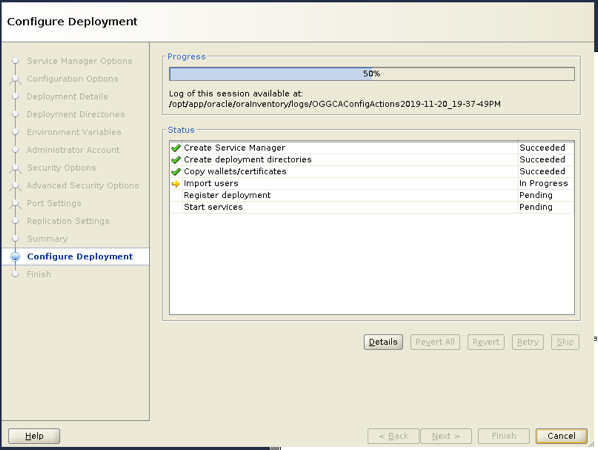
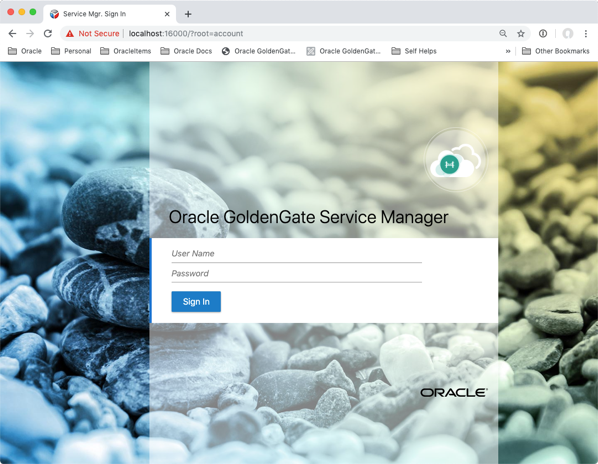
After the configuration finishes, you can close out the Oracle GoldenGate Configuration Assistant. To check if the ServiceManager is running, you just need to navigate to the url with the port number you specified. In this example, it would be https://localhost:16000.
After you have the ServiceManager and deployment configured, you can use a reverse proxy to consolidate port numbers down to a single standard port. If you choose to use the NGINX (https://nginx.com) reverse proxy, we provide you with a script to configure it. The script can be found in $OGG_HOME/utl/lib/reverseproxy.
Enjoe and God bless!!
Bobby Curtis

I’m Bobby Curtis and I’m just your normal average guy who has been working in the technology field for awhile (started when I was 18 with the US Army). The goal of this blog has changed a bit over the years. Initially, it was a general blog where I wrote thoughts down. Then it changed to focus on the Oracle Database, Oracle Enterprise Manager, and eventually Oracle GoldenGate.
If you want to follow me on a more timely manner, I can be followed on twitter at @dbasolved or on LinkedIn under “Bobby Curtis MBA”.
