Terraforming your way to an Autonomous Database
Oracle Cloud Infrastructure (OCI) is a good platform for many things including building enterprise grade databases on. Over the last few years, Oracle has been promoting the Oracle Autonomous Database (ADB) quite extensively and how to build them on OCI. The way that Oracle builds it within the OCI framework is simply through the console and wizard driven method. Now in reality when building an ADB, you may only need one or two of these types of databases depending on what you are doing in production. For development, you would want multiple instances spun up. Doing either of these through the console could take some time, which does not fit into a DevOps model. To solve this problem, you would just write some code that would build an ADB or multiple ADBs in a more efficient way.
To write the code needed, just use Terraform.
Oracle documentation for OCI doesn’t provide any details on how to use Terraform with their infrastructure, but it can be done. The documentation that needs to be referenced is actually under the HashiCorp docs for Terraform. Under the OCI Provider look for oci_database_autonomous_database. This piece of documentation provides all the details needed to build an ADB within OCI.
Basic Code
The below code will work to build a basic ADB with a default workload of Data Warehouse. What needs to be understood from this code is that there are five (5) required options that need to be provided – admin password, what compartment to build in, number of cpus needed, how much block storage should be allocated in terrabytes, and the name of the database. This gets you a basic ADB built.
hcl
,,,,,,,,,
##############################
# OCI – Autonomous Database(s)
##############################
resource “oci_database_autonomous_database” “demo_adb” {
#Required
admin_password = “<password>”
compartment_id = “ocid1.compartment.oc1………..gmwuiynsonpq74fo2djk6hd64qu3lzw2xybym4svyhq”
cpu_core_count = “1”
data_storage_size_in_tbs = “1”
db_name = “RDADB1”
}
,,,,,,,,,,,
A bit more
The above code provides a great start, but what about a bit more control over different aspects of the database. What if you want a different version of database or even change the workload that the database is used for. These are all questions that can be answered by the “optional” items for the resource within Terraform. To expand the above code to include optional options it would look similar to this:
hcl
,,,,,,,,,,
##############################
# OCI – Autonomous Database(s)
##############################
resource “oci_database_autonomous_database” “demo_adb” {
#Required
admin_password = “<password>”
compartment_id = “ocid1.compartment.oc1………..gmwuiynsonpq74fo2djk6hd64qu3lzw2xybym4svyhq”
cpu_core_count = “1”
data_storage_size_in_tbs = “1”
db_name = “RDADB1”
#Optional
db_version = “19c”
db_workload = “OLTP”
display_name = “RDADB1”
is_free_tier = “false”
license_model = “BRING_YOUR_OWN_LICENSE”
source = “NONE”
}
,,,,,,,,
What you should notice with the extend code is that the ADB will be built to support OLTP workloads using a 19c version and that you have to already own a license that you bring to the cloud. Additionally, the option is_free_tier is set to false. This means that the ADB will be built without the limitations that are in-place for the free tier – expect to pay when used. In this example, the last thing to point out is the source option. Source is set to NONE because this is the default, but this is also used when you want to copy another ADB (I’ll may write something on that later).
Output
Once the ADB is built, you obviously want to get information related to that database. In order to retrieve any information you first have to identify the id of the database after it is built. You can write this in a output code block, but that will not be useful. Grabbing the id and then using it in an output block is the way to go.
To grab the id, you would write a data block of code. It would look something along these lines:
hcl
,,,,,,,,,,
data “oci_database_autonomous_database” “demo_adb_info” {
autonomous_database_id = oci_database_autonomous_database.demo_adb.id
}
,,,,,,,,,,
Now that you have the id, it can be referenced in an output code block to return items such as the Service Console URL. The output block looks similar to this:
hcl
,,,,,,,,
output “service_url_adb” {
value = data.oci_database_autonomous_database.demo_adb_info.service_console_url
}
,,,,,,,,,
After the ADB is built, the output displayed will be something similar to this:
data.oci_database_autonomous_database.demo_adb_info: Refreshing state…
Apply complete! Resources: 1 added, 0 changed, 0 destroyed.
Outputs:
service_url_adb = https://adb.us-ashburn-1.oraclecloud.com/console/index.html?tenant_name=OCID1.TENANCY.OC1…………FPRZT2SX75LWEIVOU6XEOMTO4GVJXUUYRAXCDAKFF4DUJQ&database_name=RDADB1&service_type=ATP
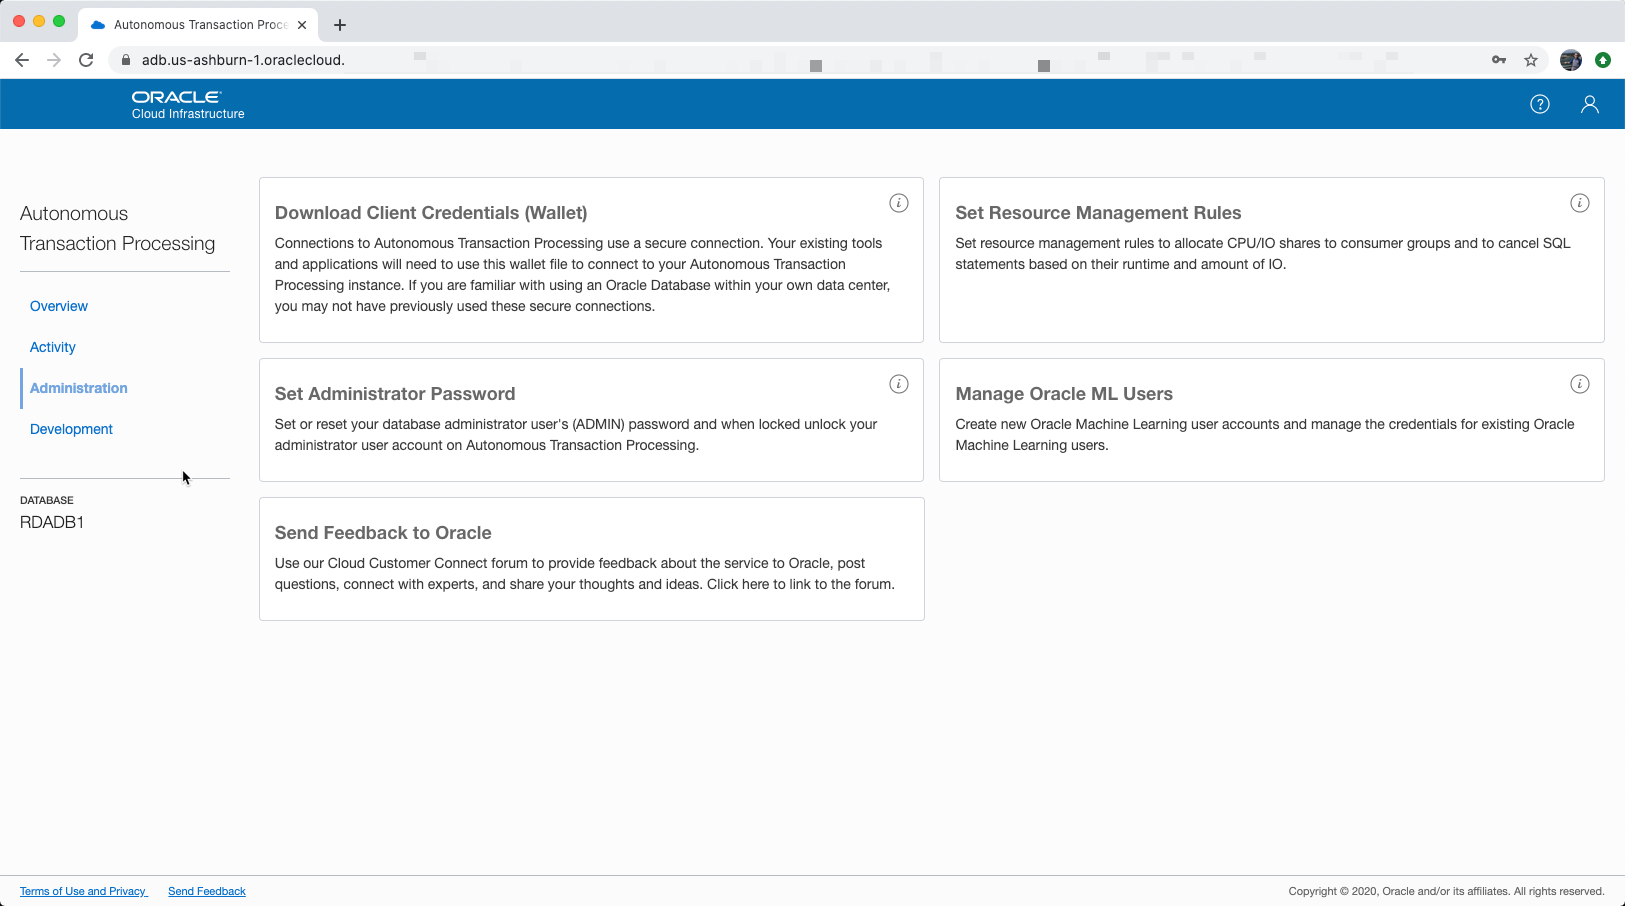
At this point, you can copy the service_url_adb and post it in a web browser. It will open the Service Console for the ADB created, allowing you to review the Overview, Activity, Administration, and Development pages.
Summary
Although Oracle has made it quite easy to build Autonomous Databases within the OCI Consoles, HashiCorp has made it even easier to build these workloads as code. The examples that I’ve provided in this post work for basic ADB builds, but can be expanded to provide more details if needed.
Enjoy!!!
Current Oracle Certs
Bobby Curtis

I’m Bobby Curtis and I’m just your normal average guy who has been working in the technology field for awhile (started when I was 18 with the US Army). The goal of this blog has changed a bit over the years. Initially, it was a general blog where I wrote thoughts down. Then it changed to focus on the Oracle Database, Oracle Enterprise Manager, and eventually Oracle GoldenGate.
If you want to follow me on a more timely manner, I can be followed on twitter at @dbasolved or on LinkedIn under “Bobby Curtis MBA”.
